Many Users Need Customization on their smartphones, but due to some restrictions on Android, users cannot fully customize their handsets. To Customize fully they need some sort of third-party recovery that allows them to flash any software or operating system etc. So, in this article, we are going to master How to install TWRP recovery on android without root or how to flash TWRP recovery on android smartphones.
Flashing TWRP recovery on android is a very easy task. It only takes up to 2 mins to flash and boot into TWRP.
Why we need to install TWRP Recovery
- To customize your android smartphones without restrictions.
- To Flash third-party software.
- And to make changes in your UI or Operating System without the support of officials.
- It is just a basic need for changing the environment of your android smartphone.
- Well, there are many other reasons why we need to install TWRP Recovery or need TWRP Recovery.
Some Important Points that you should know before installing TWRP Recovery on Android Smartphone
- TWRP Recovery can be installed without root.
- OEM Unlocking Should be enabled.
- The warranty of Your Device will not be void/end. (Depend on methods that you used to install Twrp Recovery or Flash Twrp Recovery)
- USB Debugging Should be Enabled.
- When quitting TWRP recovery always choose the Do not install option.
Ways of Installing TWRP Recovery
- One Time TWRP Recovery. (Warranty will not be void)
- Permanent TWRP Recovery. (Warranty will be void)
In One Time TWRP Recovery, you just need to install it for one-time usage only. After that, it will be auto replaced by an official recovery of your android device. And you can disable the OEM unlock feature. In this scenario, the warranty will not be void.
If you want to install TWRP permanently then you can use or boot in TWRP as many times as you want. But in this scenario, the warranty will be void. You can switch back to your device’s original state at any time that will restore your phone’s warranty if the bootloader is locked. (Depend on your android device companies policy)
NOTE: One Time TWRP Recovery method works only for those smartphone devices which have official TWRP on the website twrp.
Let’s deep dive into the Steps that we need to follow How to Install TWRP Recovery on Android without Root
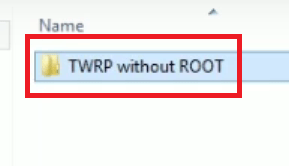
- Download the TWRP ZIP FILE. (Download link is below)
- Go to your phone’s settings then about the phone. Click on the build version 7 times to enable the developer’s options.
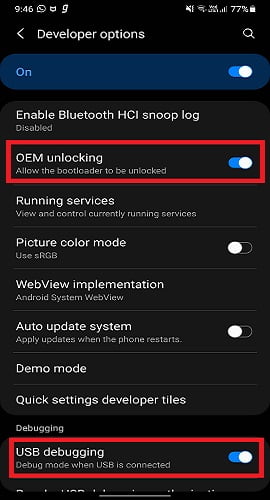
- Enable USB DEBUGGING and UNLOCKING OEM options in the developer’s options menu.
- Install ADB drivers (1.3) on your PC then install your phone USB drivers. (Don’t know how to do Click here to watch the video) if adb drivers 1.3 didn’t work then install version number 1.4.3
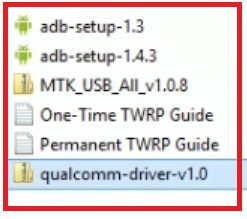
- Download TWRP Recovery from the Official site. If Official TWRP is not available for your phone then search on google for your phone Supported TWRP recovery.
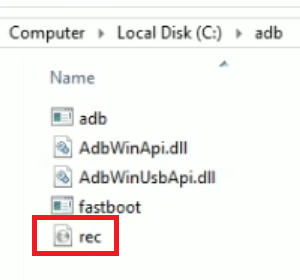
- Rename the downloaded TWRP recovery file to rec.img (img is the extension). Place the renamed file into the ADB folder. (Search for the ADB folder where you installed it. Default Place is in C drive c/adb)
- Connect your device to PC.
- Open CMD on your PC. Type the following command: adb reboot bootloader or .\adb reboot bootloader. This will boot your device into fastboot mode. You may skip this step and can manually boot into fastboot mode by pressing the vol- and power key simultaneously.
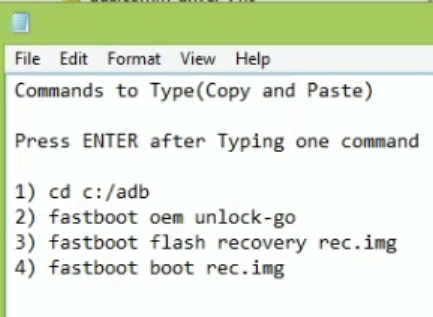
- After booting up in fastboot mode, type the following commands in CMD one by one.
To install one-time twrp recovery type these commands.
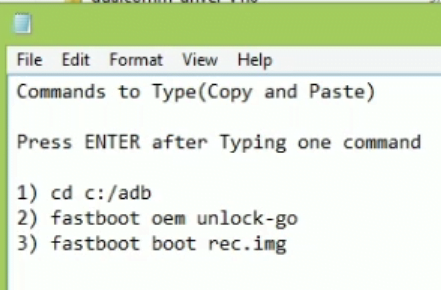
To install Permanent twrp type these commands
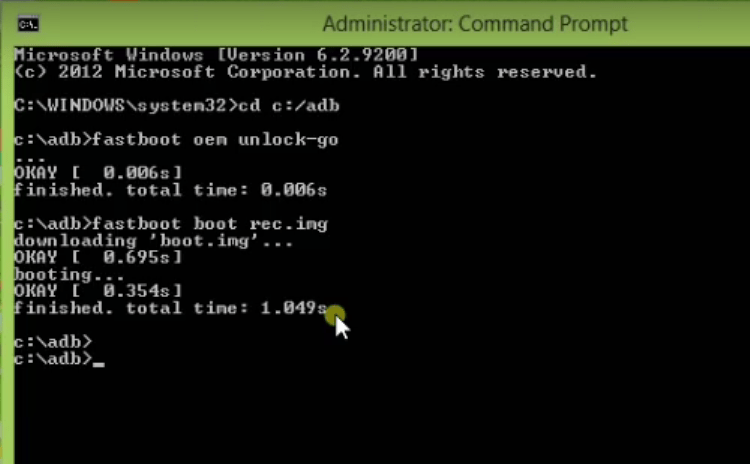
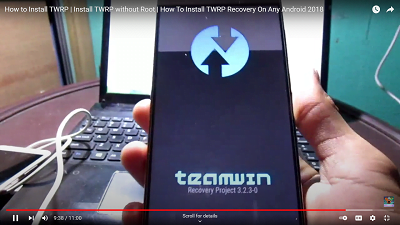
Hurray, you have mastered the How to Install TWRP Recovery on Android without Root and successfully booted into TWRP recovery.

Download TWRP ZIP FILE:
Watch the video on Youtube
